Of course I am going to start with my favorite “Distro” (distribution) Debian 12 a.k.a. Bookworm. We are going to do a quick “NetInst” (network install) on a VirtualBox Virtual Machine (VM). The VM has 8 gigs of ram 32gb of HDD storage and all the basic virtual machine goodies. You don’t need much to run this distro, so lets get started!
1. Download the appropriate Netinst CD Image
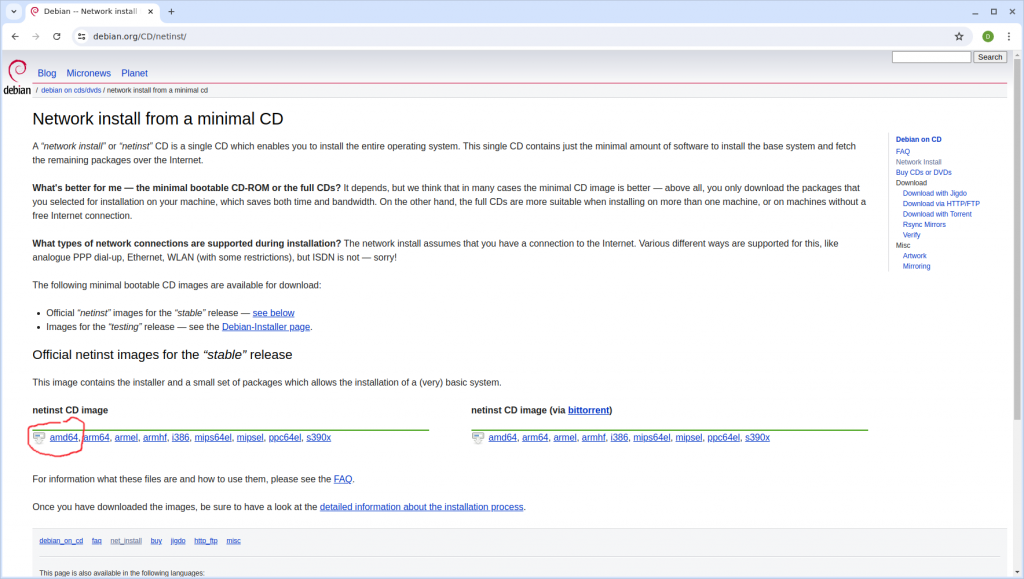
So, the first thing we need is the install disk image, for this install we will be using the amd64 image. I really enjoy the netinst images as they are lightweight and only require the machine to be connected to the internet. They also allow for heavy customization from the start, this install however is going to be pretty basic. Here Is the direct link to the image we are using. debian-12.5.0-amd64-netinst.iso
2. Load the image in the “drive” and boot up the machine
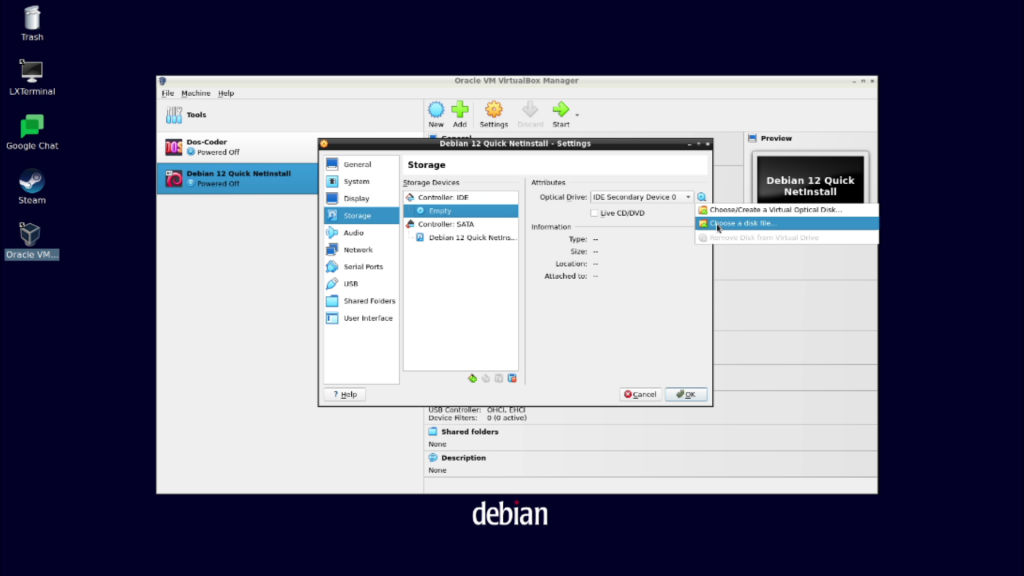
Choose the machine and click “Settings”, select “Storage” then click on the empty Optical drive. Click the cog on the right, and Select “Choose a disk file”.
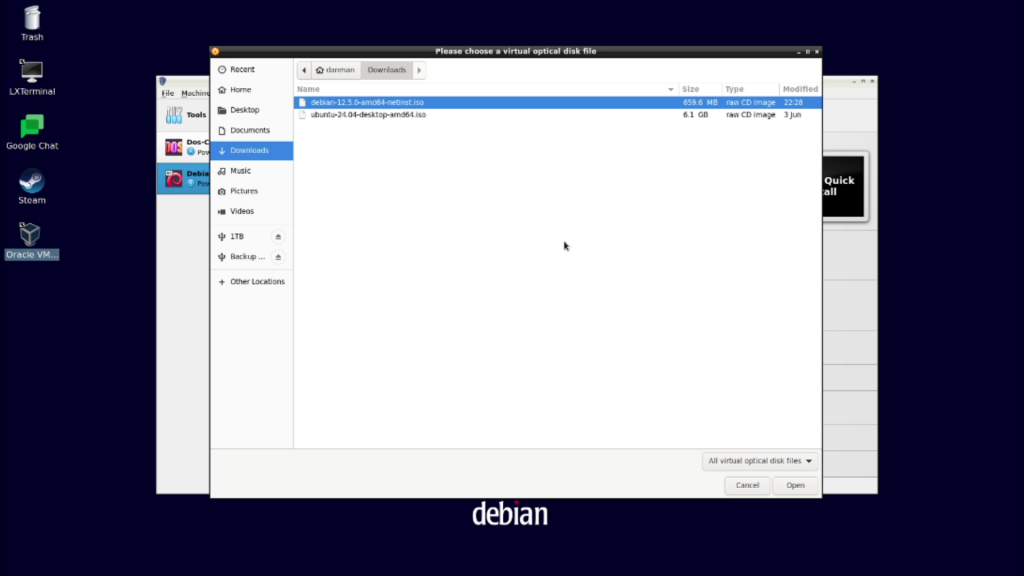
Navigate to the directory that contains the netinst CD image we just downloaded. Select the Image and click “Open”
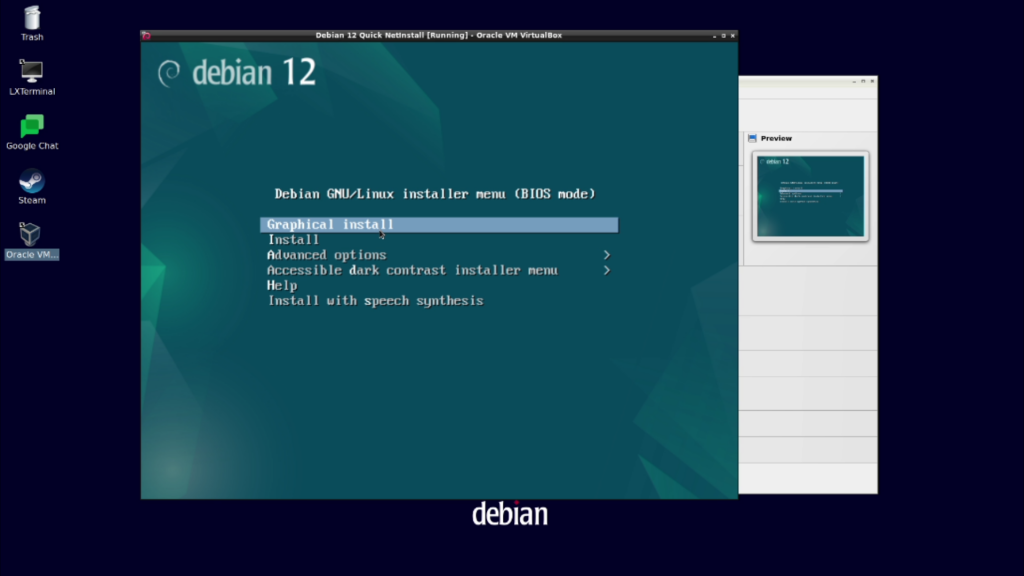
Click “Start” and boot up the machine, this is the first thing you will see. For this install we are going to select “Graphical install”.
3. Configure Language, Location, and Keyboard Layout
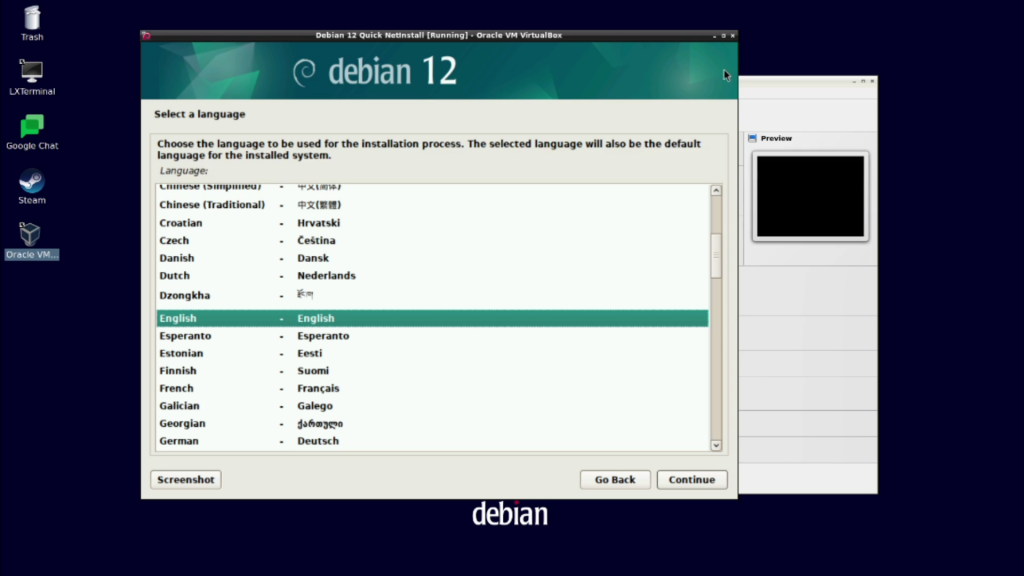
For this install we will select English as it is my native language. Choose your language of preference and click “Continue” or press enter.
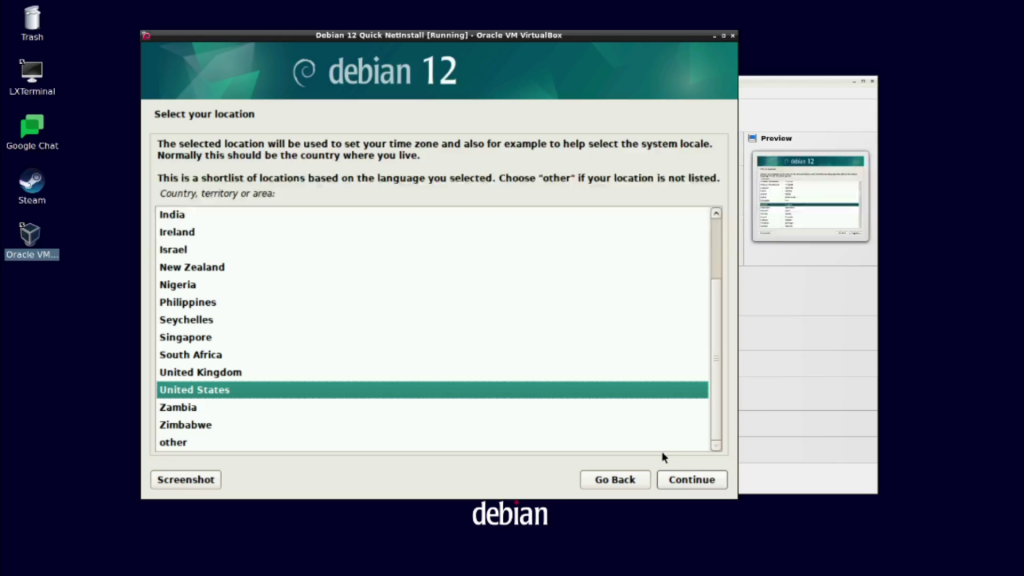
Also for this install we will select United States, my native country. Choose your location of preference and click “Continue” or press enter.
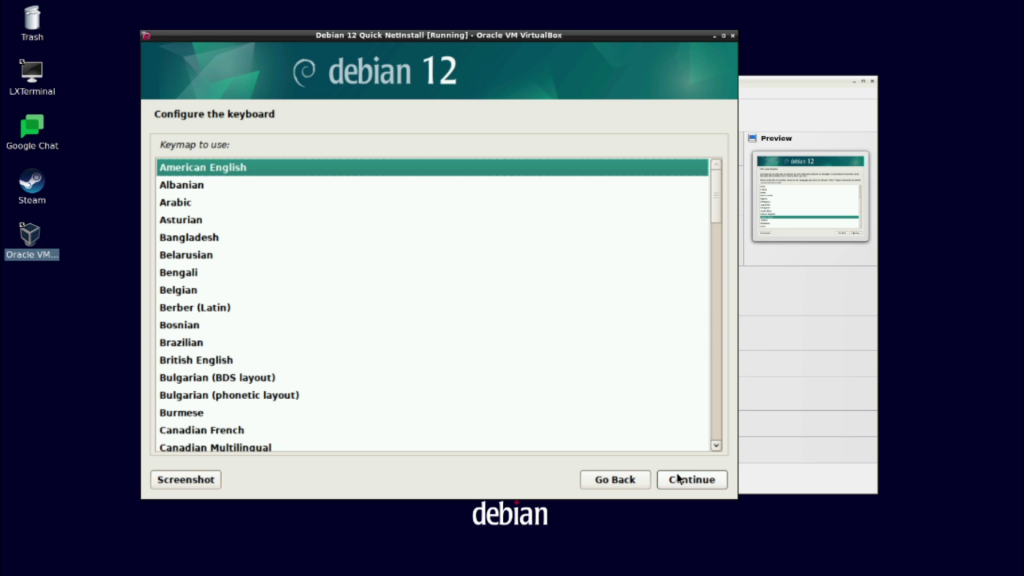
And of course for my keyboard we will select American English. Choose the appropriate keyboard layout and click “Continue” or press enter.
4. Configure the network – choose a hostname, and the domain
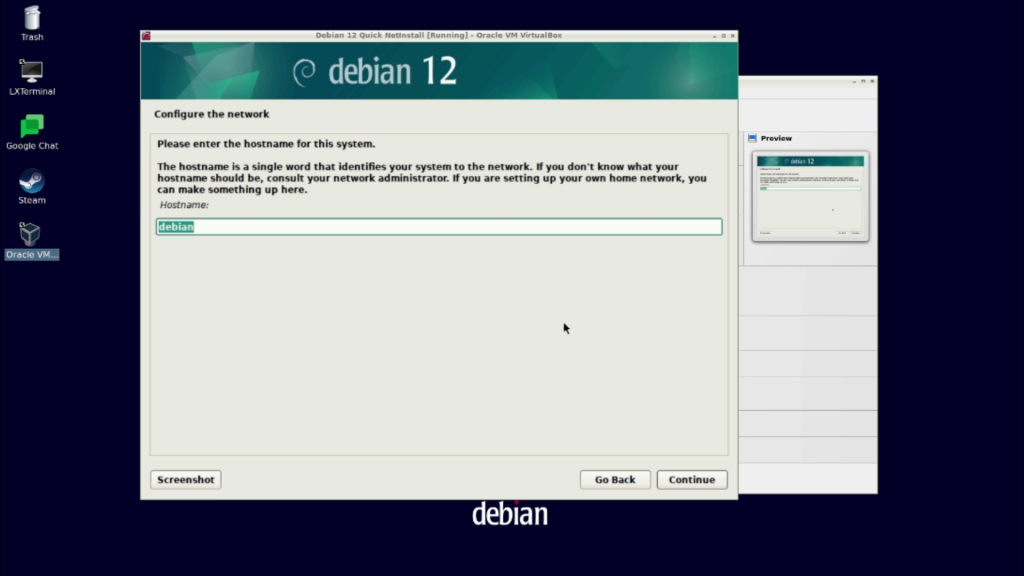
This part can be tricky for some of us, I usually choose something related to the machine, e.g. the CPU or the use for the machine. For this install I chose “Debian12QuickNetInstall” fairly lengthy but it works…
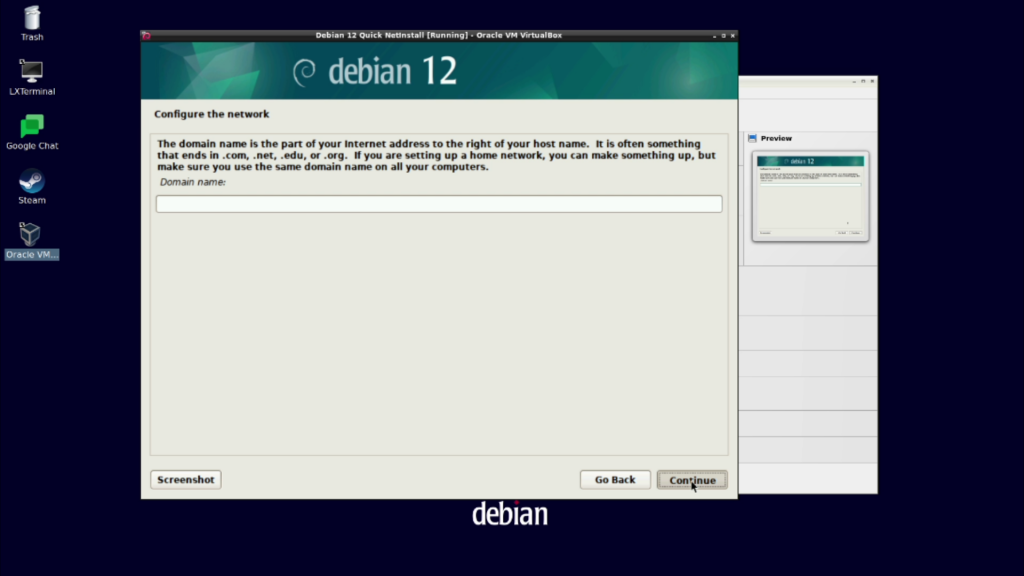
This can also be tricky to a few, but don’t worry. If you don’t know the network domain name your machine is connected to, you probably don’t have one. So just leave it blank just like we did for this install. Click “Continue” or press enter and lets move on.
5. Setup initial users and passwords
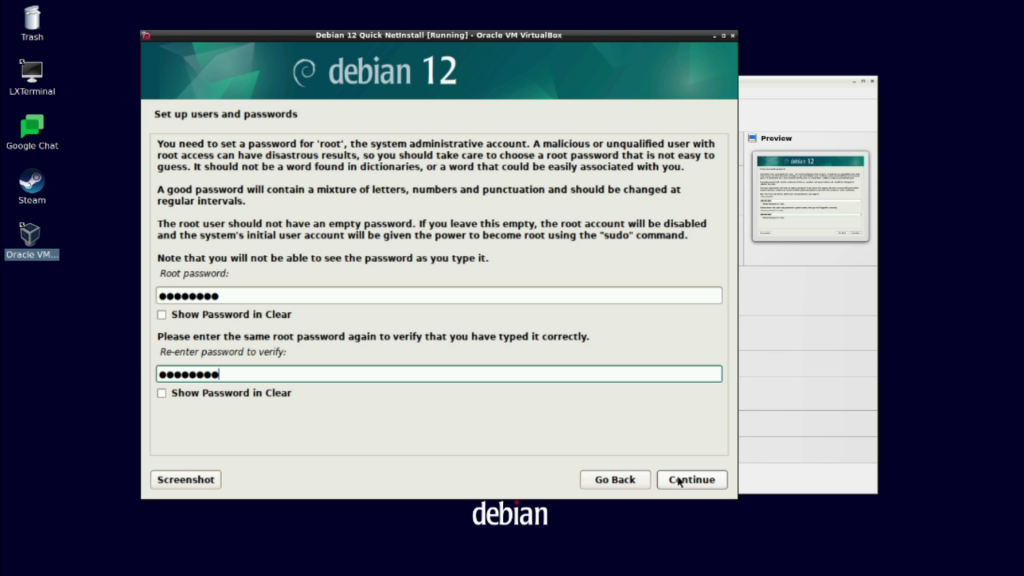
This is where we choose a password for the “root” account. It is very important to remember this password, as the root account has all the privileges. We won’t actually be using this account much, however there are certain things that require the root account.
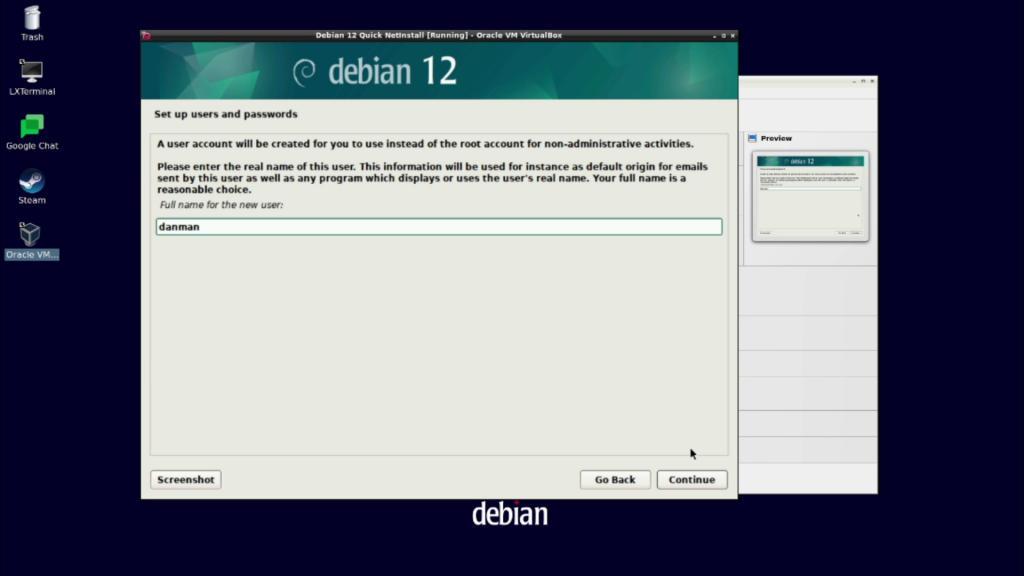
Here we input the full name for the first regular user on the machine, or in this case the username. I tend to enter the preferred username here, as it auto fills the next step. Many of the Linux boxes I set up are for just me, so even though Unix is multi-user, most of them are just me…
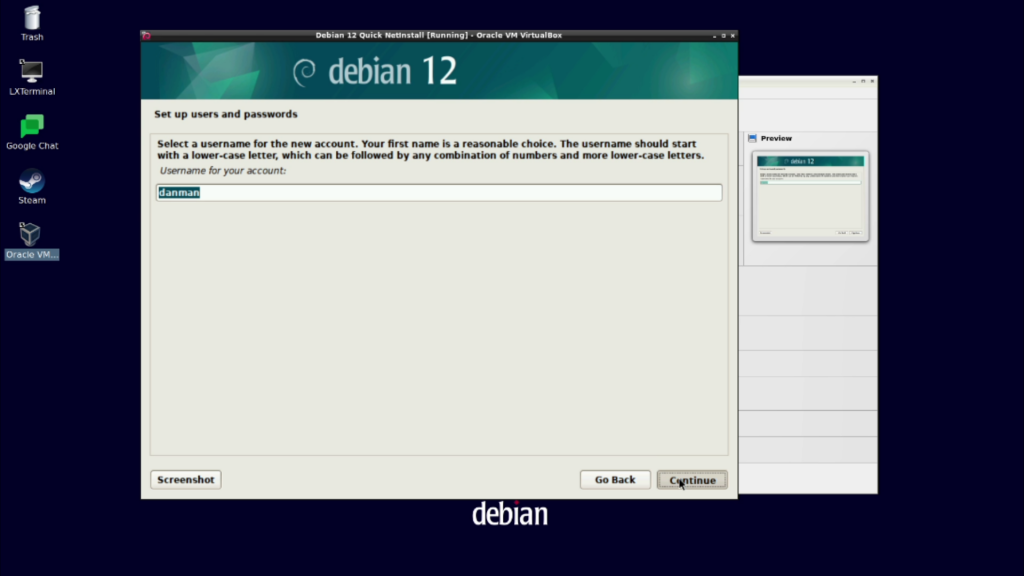
Choose a username of your liking, remember this is just the first user account. We can make other user accounts later if needed, as many as you like really. Here we just use the prefilled username and click continue to move on.
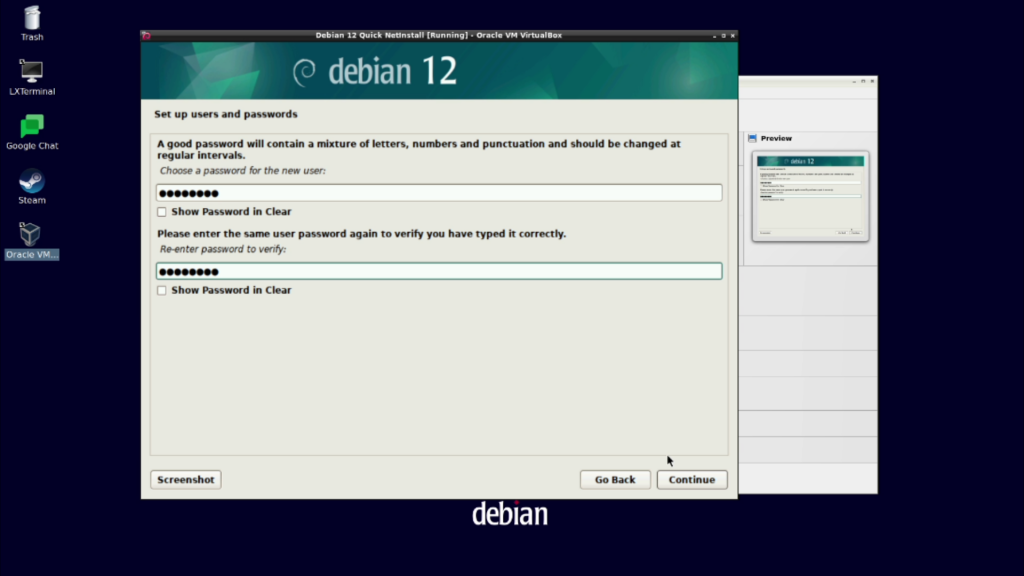
Here we choose the password for the first user of the system, again you probably want to remember this.
6. Configure the clock and partition the disk or disks
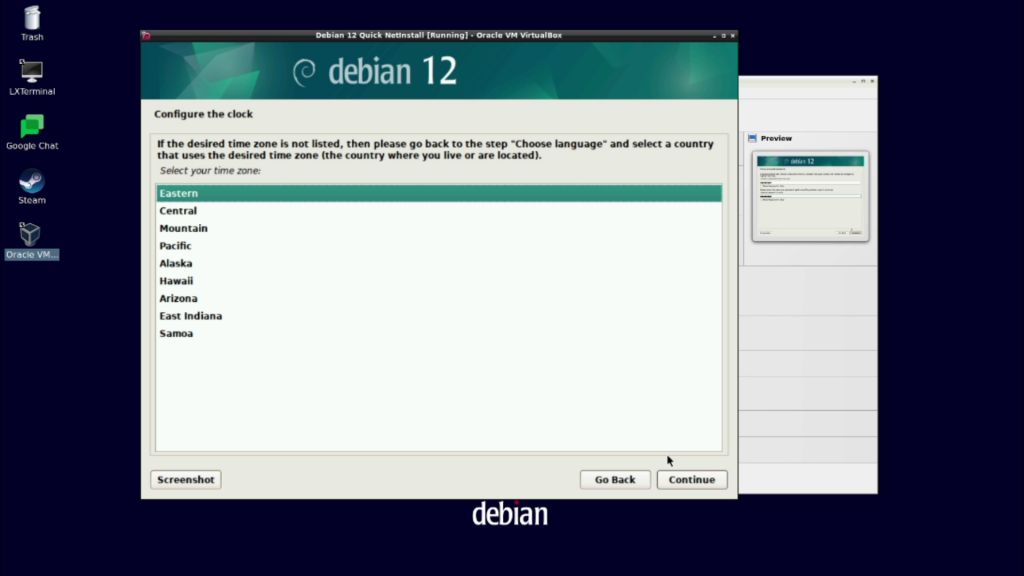
It’s time to configure the clock, in this case we select the Eastern time zone. Choose the appropriate time zone for your location and click “Continue” to move on.
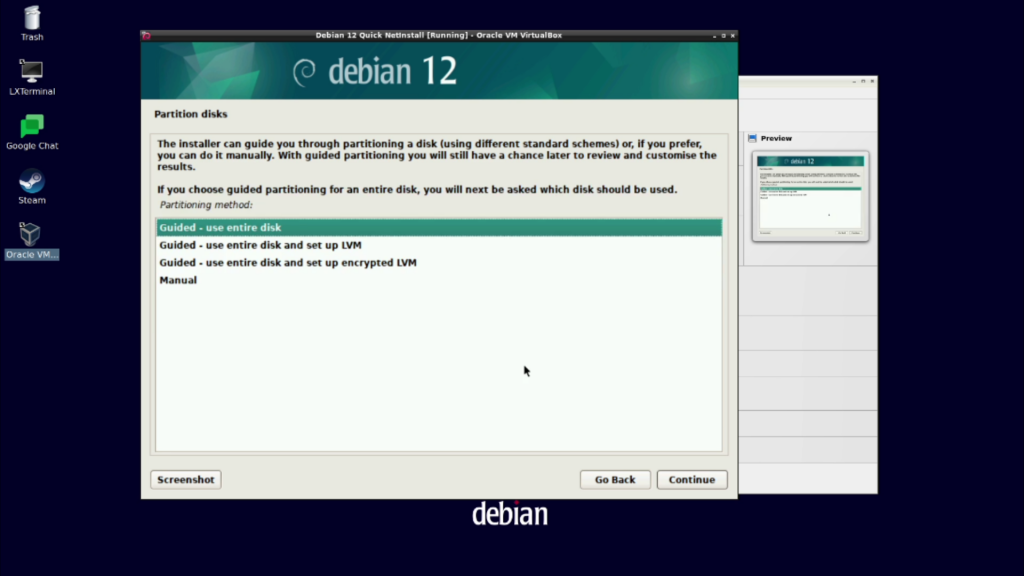
At the first prompt for partitioning we will select “Guided – use entire disk” as this is usually the preferred option. There is only one disk for the virtual machine we are using, so it is an easy choice.
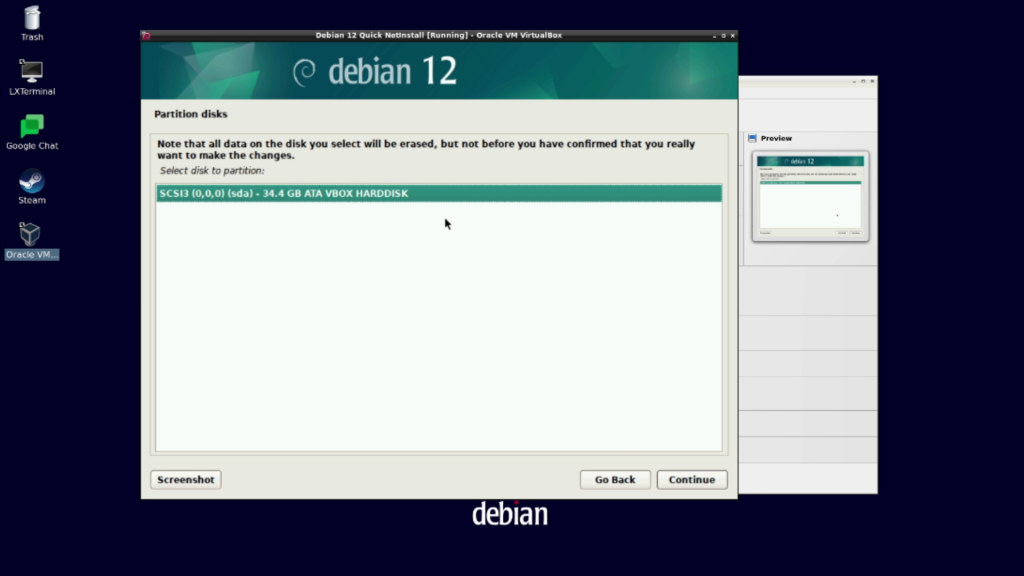
For this install we will be using the only disk in the machine (sda), it is pre-selected so we will just click continue and move on.
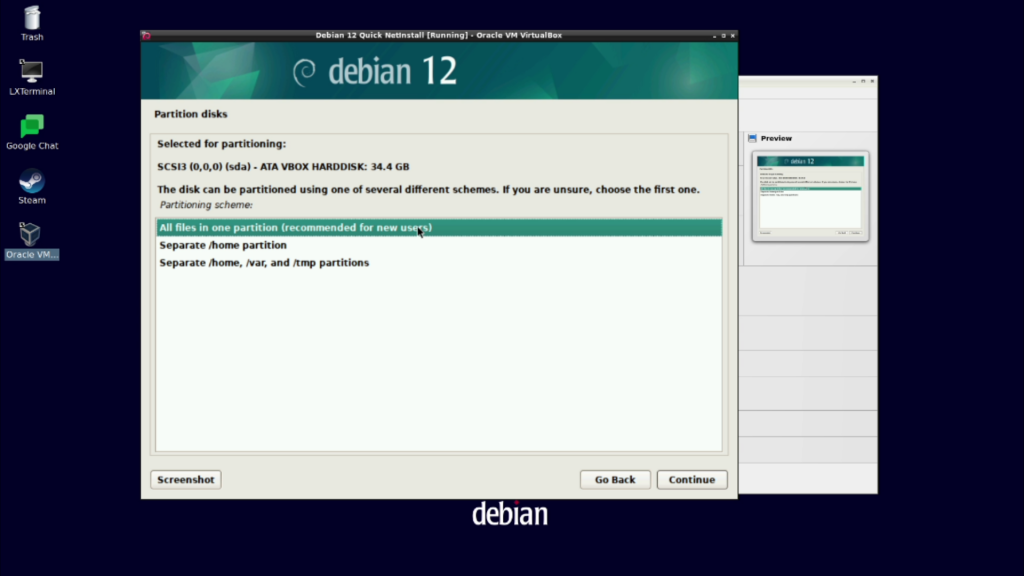
This prompt asks us what partitioning scheme we would like to use. I recommend “all files in one partition” option, Debian does also for new users that is…
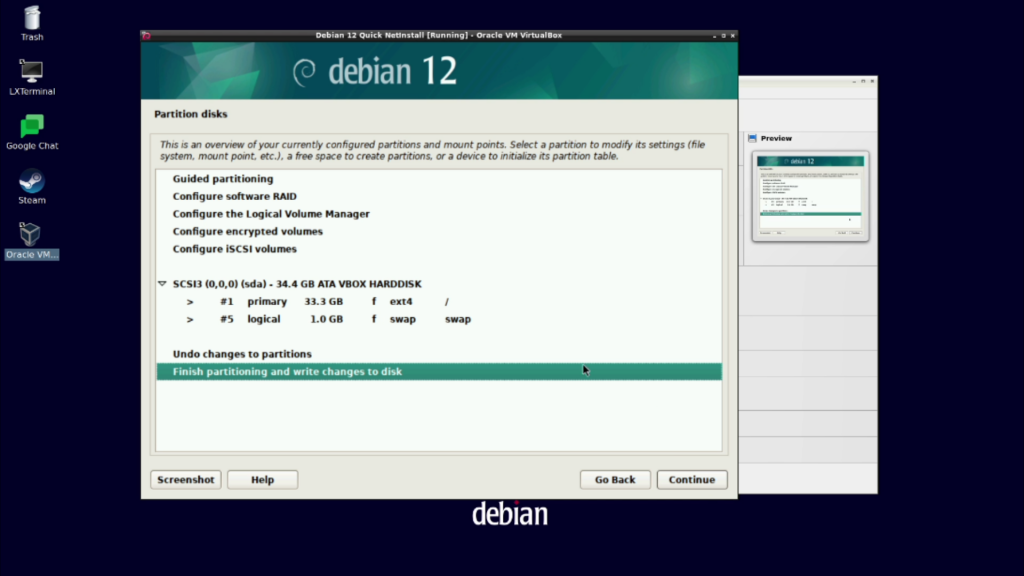
This overview shows how the disk or disks will be partitioned for the machine. If everything looks OK, which it should, we can just click “Continue” or press enter to move to the next prompt.
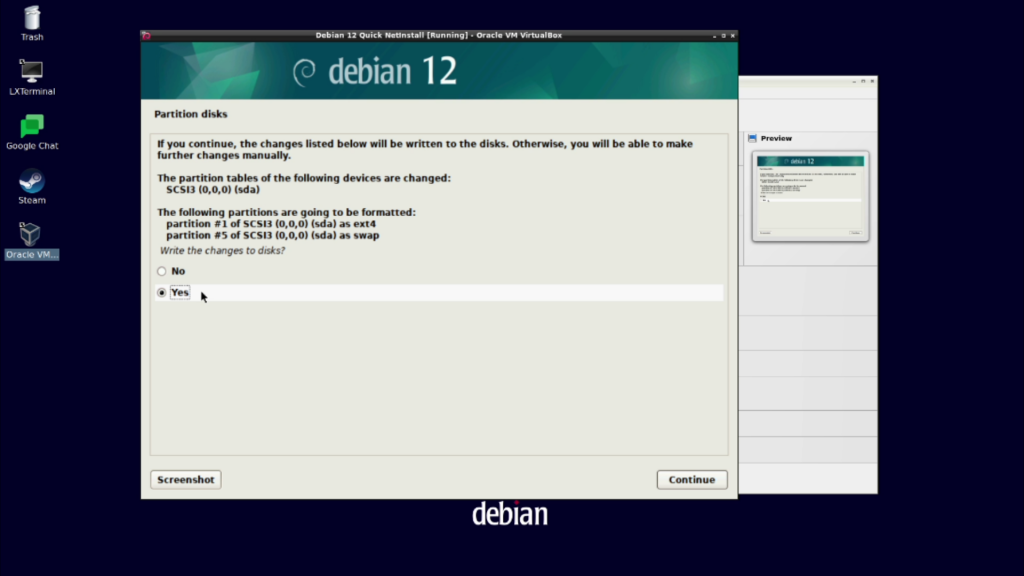
Here on this screen they give us one last chance to make sure we like the partitioning. Once we select yes and hit continue, the changes will be written to the disk or disks and the partitions will be formatted. WARNING! this is where you can loose data if you are on bare metal and chose the wrong disk or overwrite a partition you want to keep… In this case or disk is new, blank, and virtual so we are safe to click “Continue” to get to the next step.
7. Select and install software
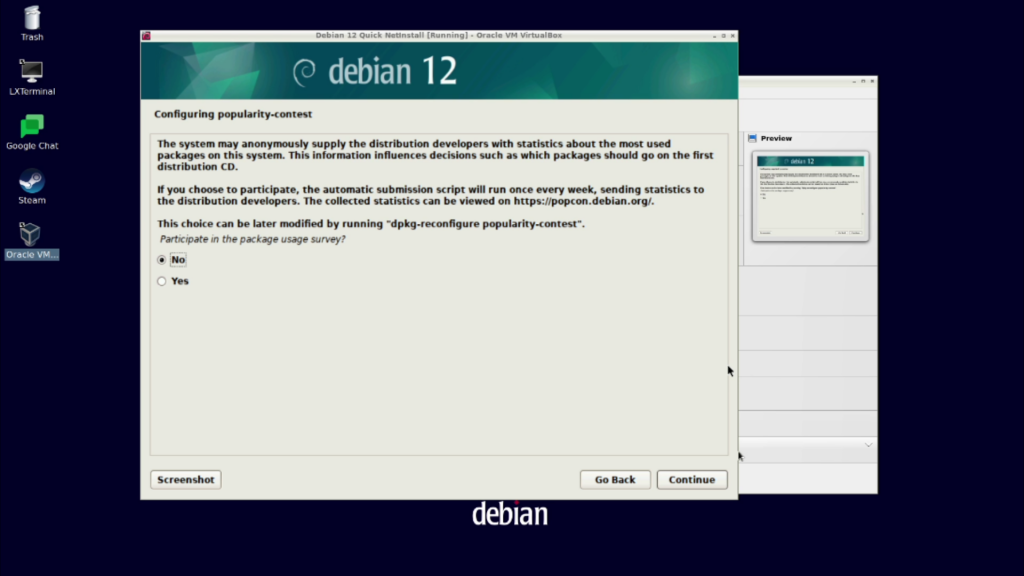
First they want to know if you would like to be a part of their popularity contest, for packages that is. We usually select no, it’s your choice and I don’t think it can hurt anything to participate.
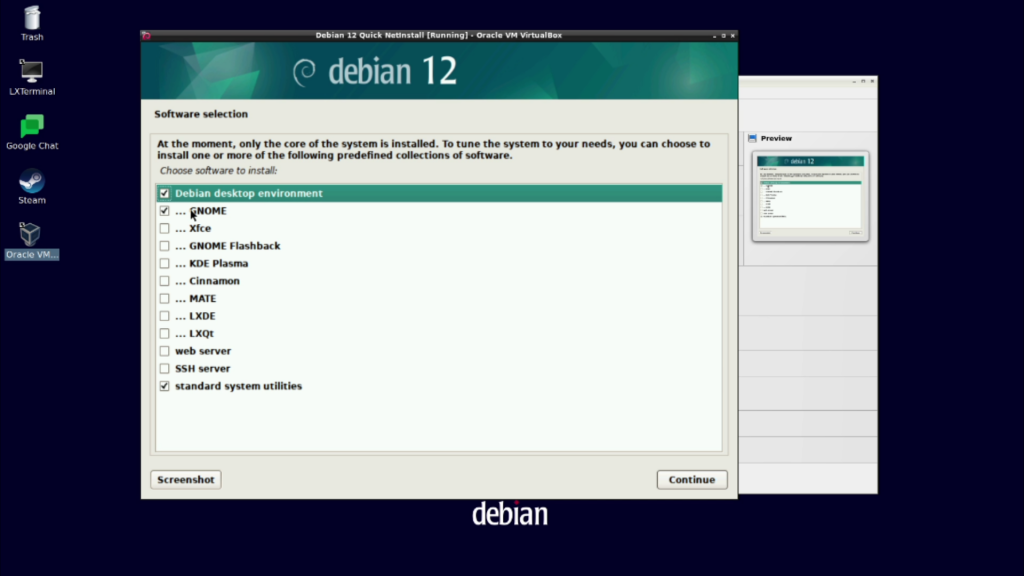
Here is the default software selection for every basic install, the “Debian desktop environment” with “Gnome” as the choice of window management, and the “standard system utilities”.
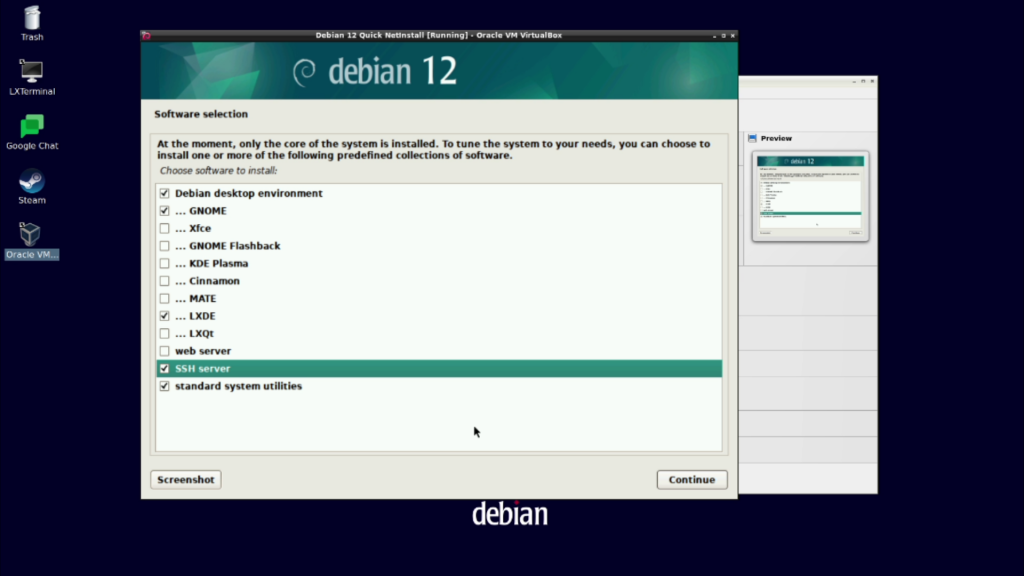
For this install we will keep “Gnome” as the default windows manager, but we will also add “LXDE” as it is my favorite out of the bunch. We will select “SSH Server” as well, because who doesn’t like administering their machines remotely. Feel free to select more or just go with the defaults.
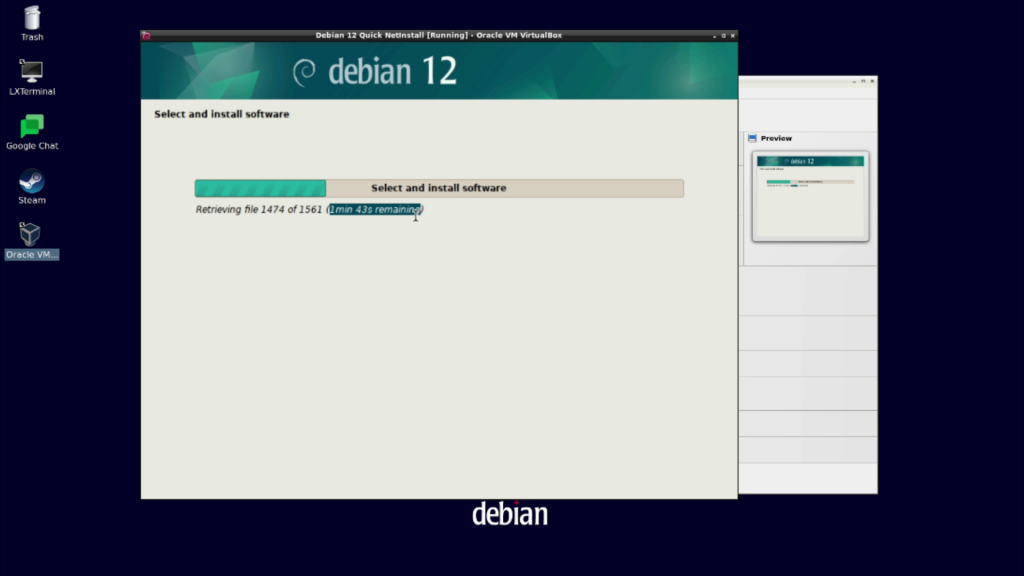
This is what you will see while you are waiting, do not believe this is an “Estimate” and will vary depending on internet speeds, and how good the hardware you are installing on. Also depends on how many selections are made on the previous screen.
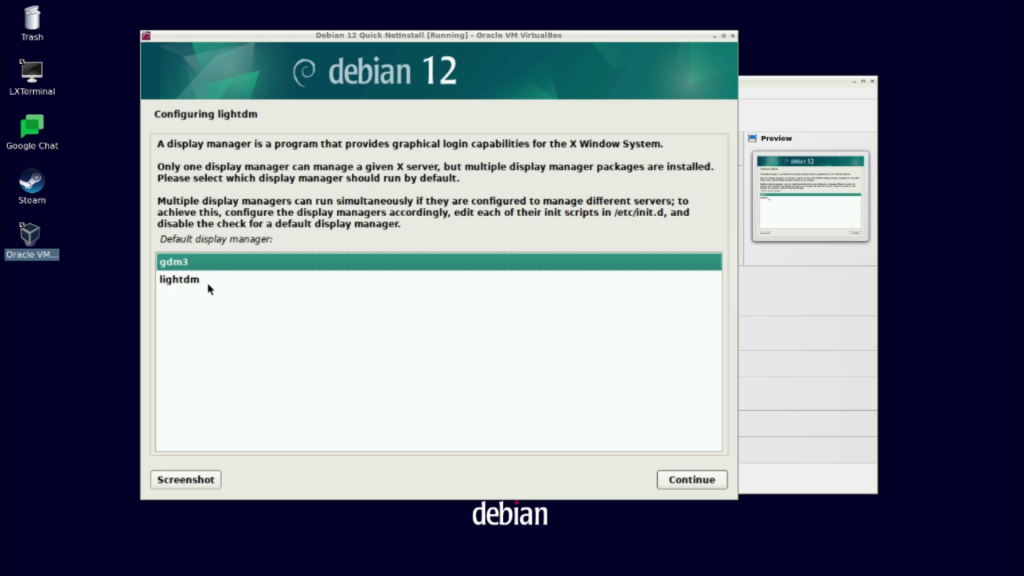
Because we chose more than one windows manager, it has prompted us to choose a “display manager”. Since we kept Gnome we will select “gdm3” as our display manager default. We can change this down the road if we like or well, don’t like…
8. Install the GRUB boot loader and reboot the machine
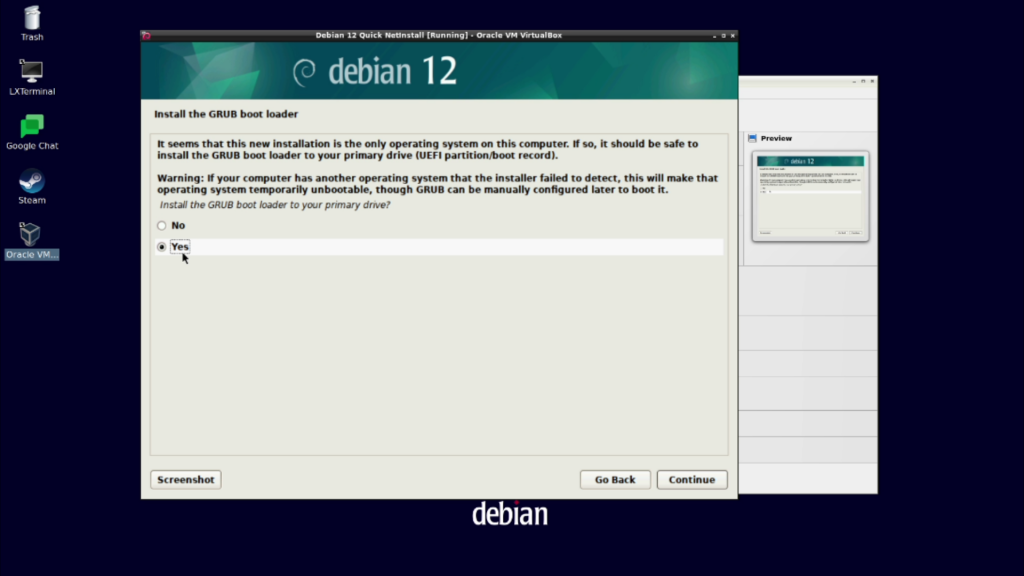
On this prompt it asks us if we would like to install the “GRUB” boot loader onto our primary disk drive. I am not sure why it asks, as if you don’t it kind of makes you machine hard to boot. So like always we will choose Yes and click “Continue” or press enter to move on.
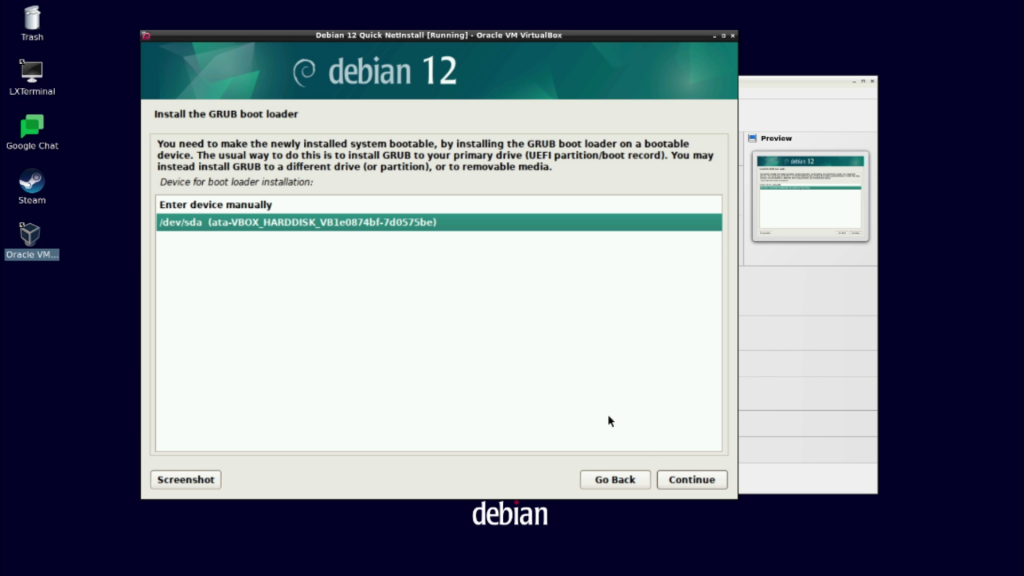
Since we chose yes to install “GRUB” we must now select the device to install it to. In this case it is “/dev/sda” our primary and only disk device in the machine. We are almost to the finish line, so click continue or press enter to move to the last prompt.
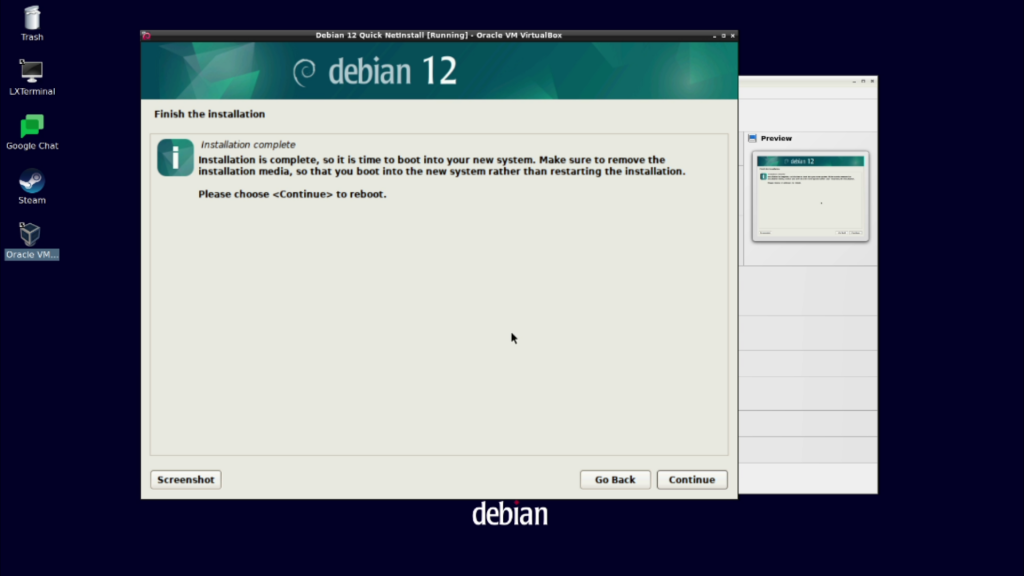
Installation is complete, so it is time to boot into your new operating system. Click “Continue” or press enter to reboot the machine.
Installation is complete!
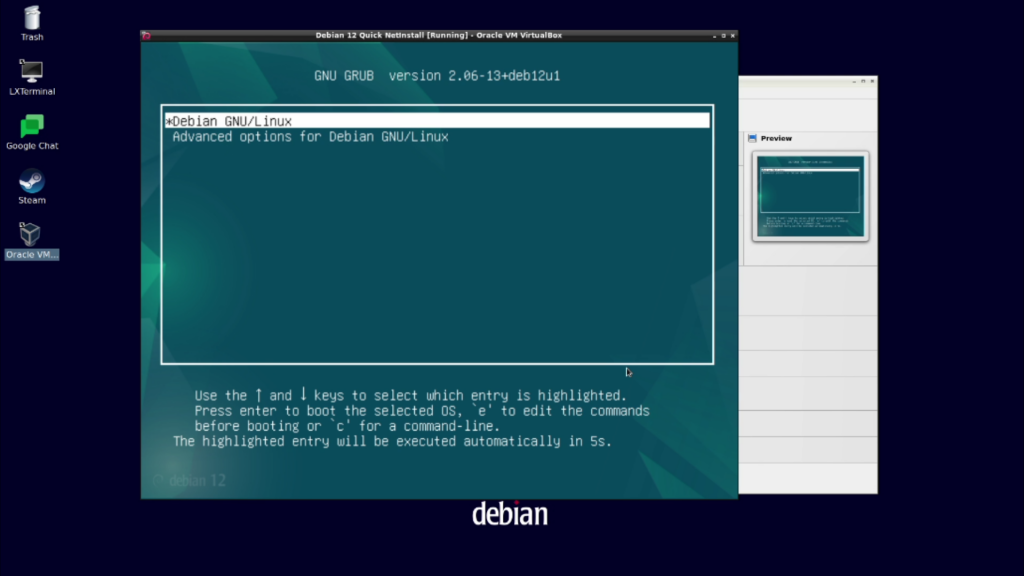
When the machine reboots you will first be greeted by the bool loader “GRUB” which will automatically boot the system in 5 seconds.
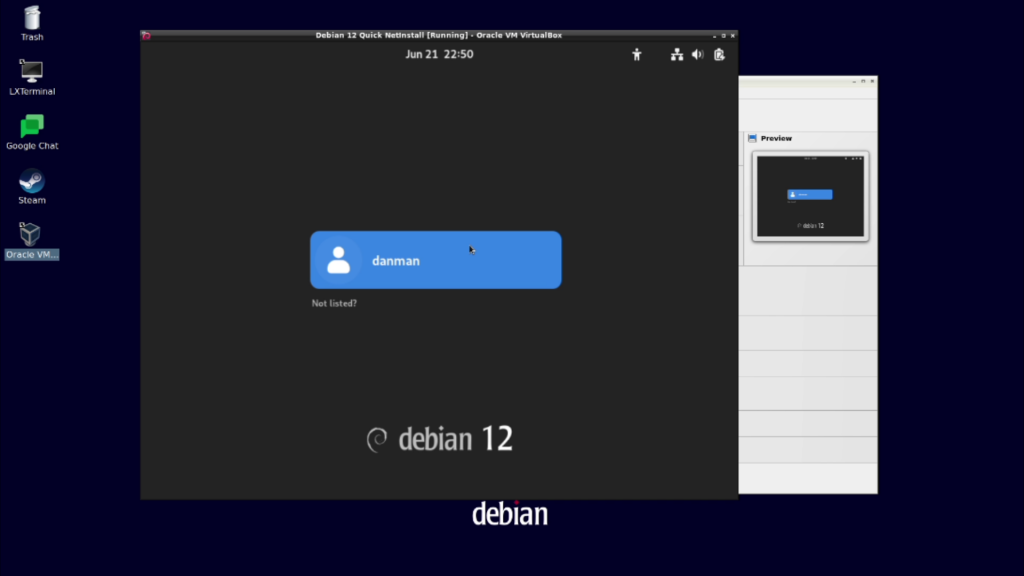
The last thing to do is login to your new installation of Debian 12 Bookworm and start using it.
Final Thoughts on the install
Over the years they have made installing Linux of many flavors much easier. Compatibility for hardware and software has come a long way as well. Debian is the most compatible distributions I have used to this point, and I have been installing and using Linux for many, many years. Hopefully this has helped a few see it’s not so bad, and maybe, just maybe you will never want to use that OS “Windows” again… If you would like check out the video of this install on the YouTube embedded below.

